


Weighing some 925
silver scrap and off-cuts to melt into a new ingot.

Melting the silver
with a gas torch in a crucible set up with some fire bricks to help contain the heat.

Letting the poured
ingot cool on a steel plate. It is ideal to have a button of excess metal at the top of the ingot as shrinkage will occur in it and then it will be cut off. Without the button shrinkage can form a hollow section at the top of the ingot.

Working drawings,
digital image design together with the MAPA pearl, a shell and the silver ingot that will, as you’ll see, become a hinged bangle.

Annealing the rolled
ingot of silver to a dull pink relaxes the atomic structure making the metal soft and workable once more.

The initial forming is
is done with the rolling mill where the metal is square tapered and is quicker and more accurate than forging.

The bangle form is
widened with a cross-pein ‘spoon’ hammer.

The cross forging and
general shaping of the flat form is checked against the working drawings.

The bangle is then
made round and the ends soldered with a medium silver solder. I prefer to only use a medium solder with a melting temperature of around 730C, and by carefully controlling the heat of further solder joins rarely have previous joins remelting.

The round bangle form
is hammered on a steel mandrel mounted in a heavy vice to refine the shape and surface. This process is called plannishing and a light hammer with a flat and polished face is used. It is normal to repeat this process a number of times with intervals of annealing.

Various large hand
files are used to further refine the form and surface.

The first job is to cut
the bangle in half.

The hinge chénier or
tube is secured with binding wire and the seam soldered.

It’s a great idea to
make the chénier the same diameter as a round needle file, as it makes fitting it so much simpler!

Whatever it is, the way you tell your story online can make all the difference.

The plannished bangle
is checked against the sketch and adjusted as needed.

The bangle is now
ready for fitting it with a hinge and a catch.

Done! That is the
easy bit.
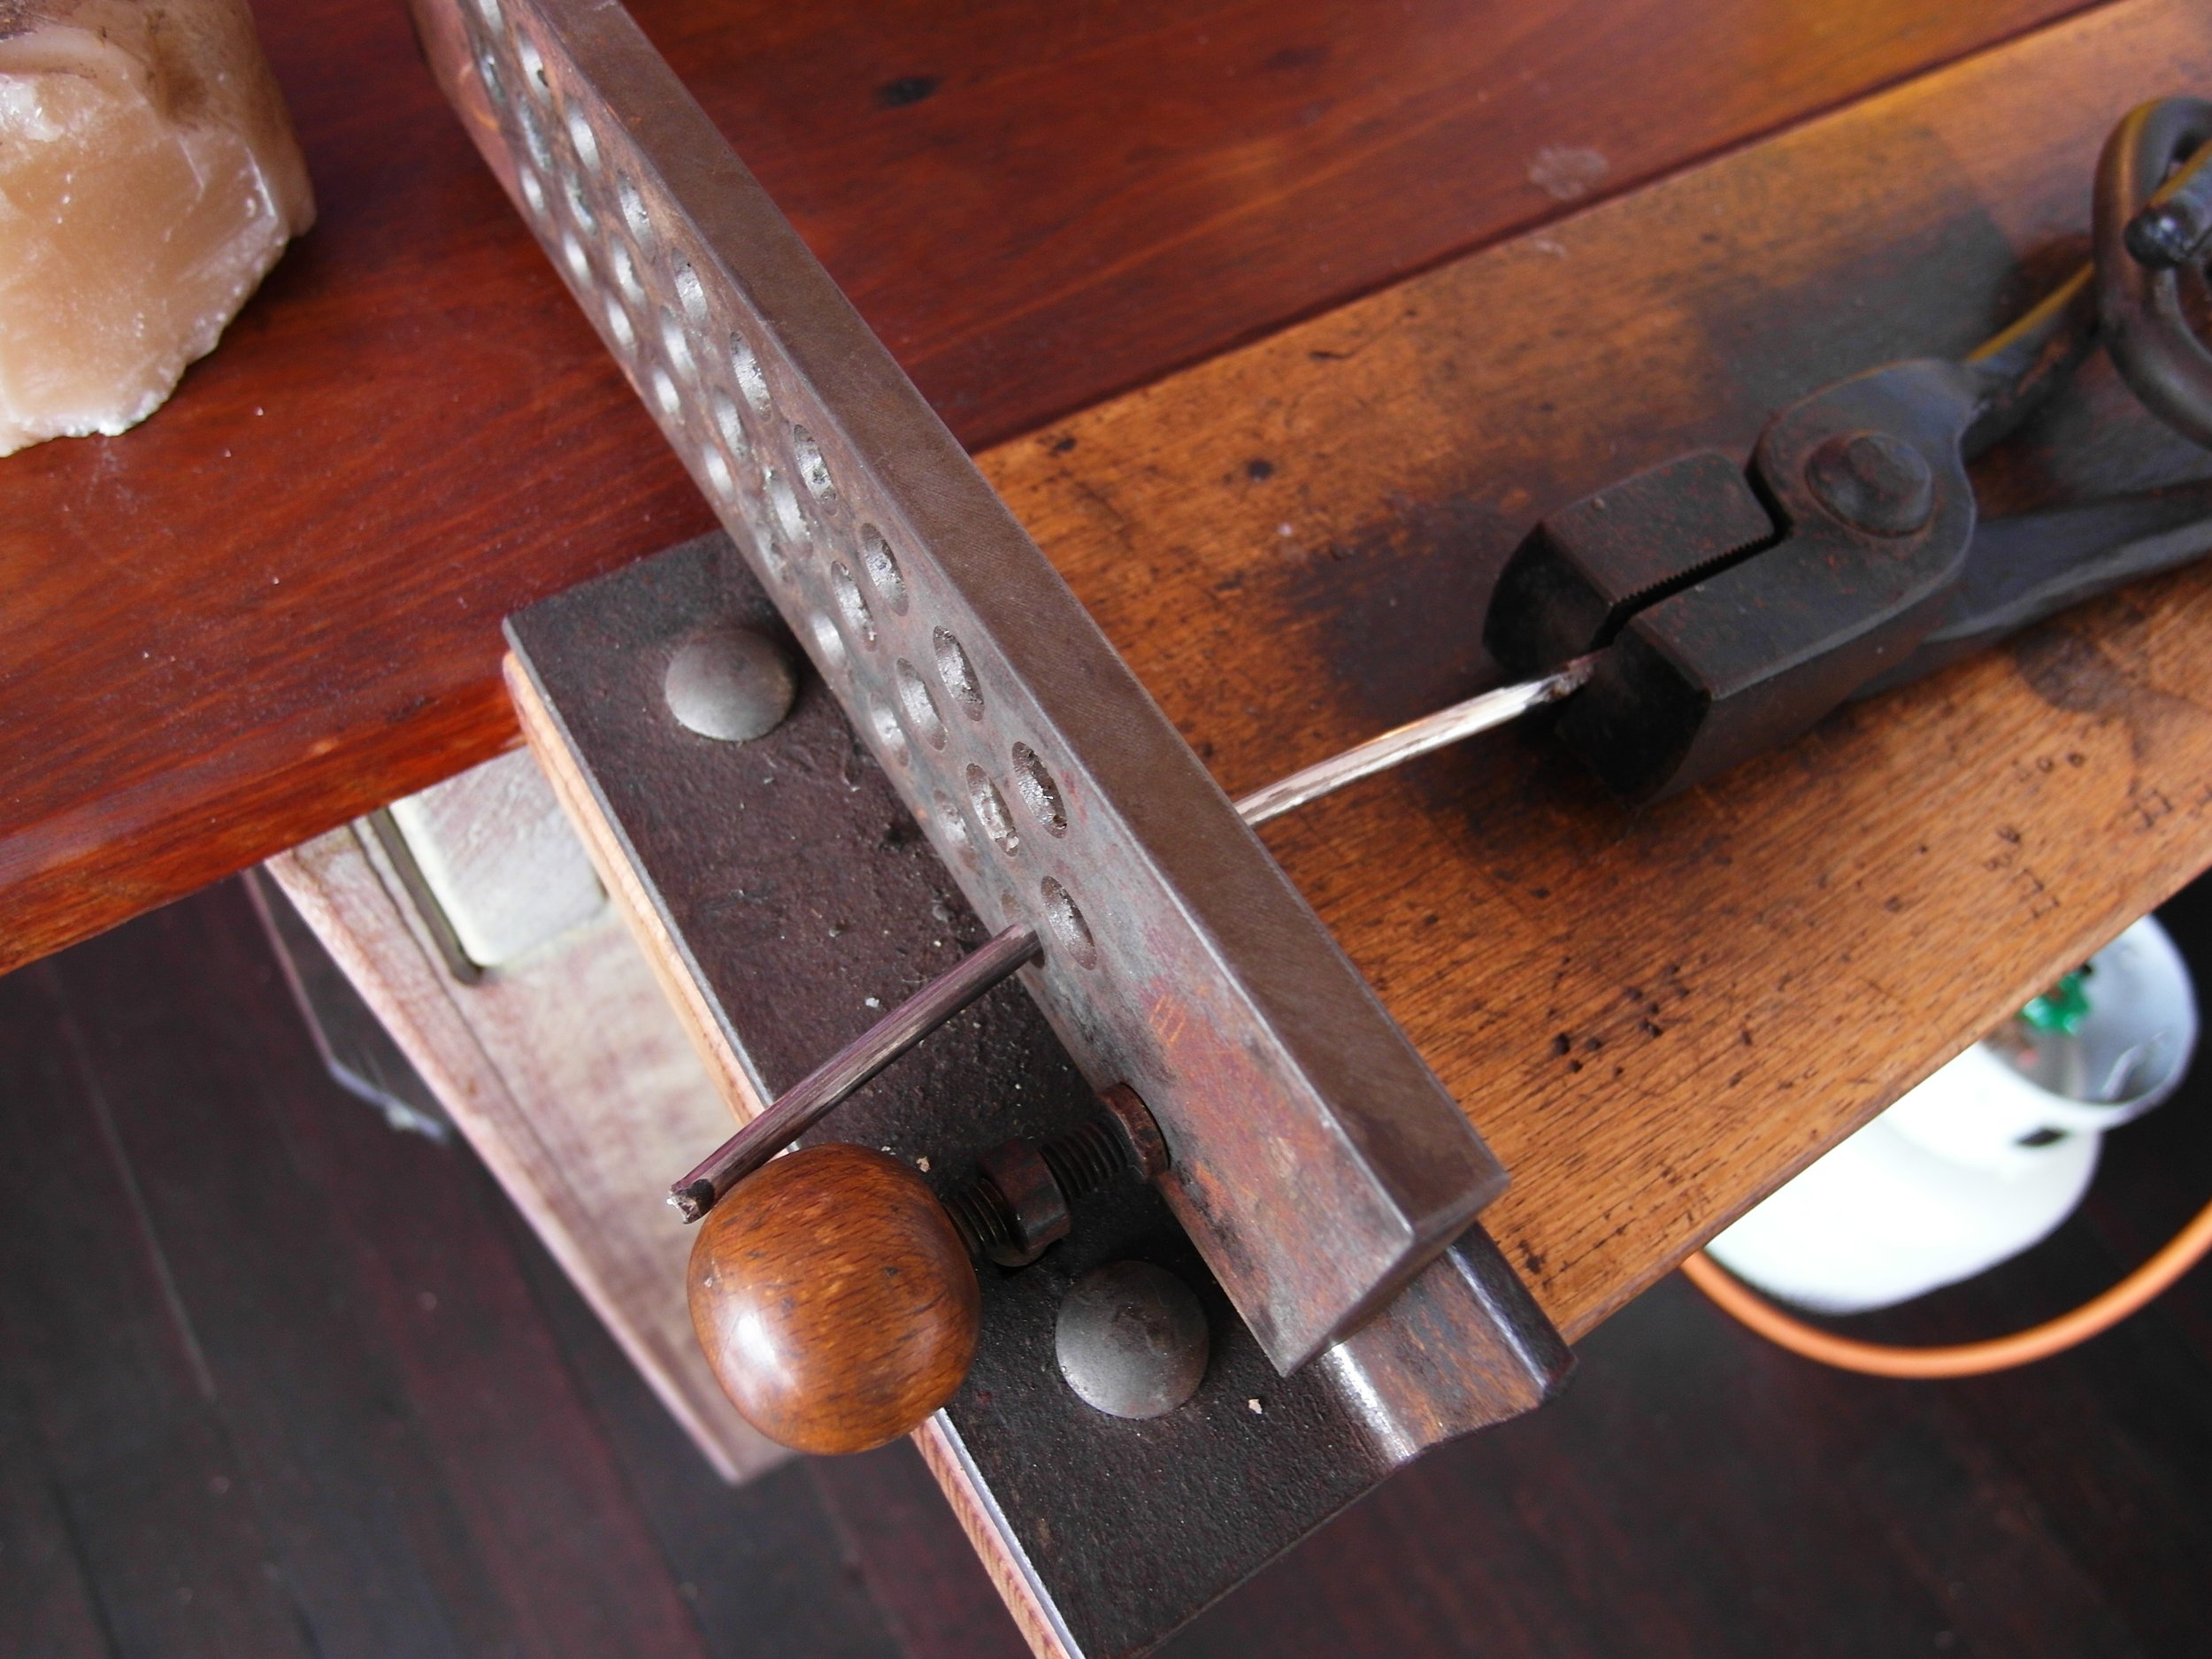
After filing the soldered
seam clean, the chénier is drawn down to size through a steel draw-plate on the draw-bench.
